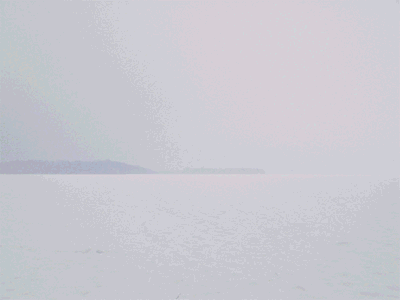
Lake Mendota, animated GIF
Source pic from the awesome photographs to be seen at Althouse.blogspot.com, here.
Back out and return if the file doesn't start. That's what works best for me. I don't know what Blogger's problem is. (This doesn't happen on the other Blogger site. Strange, in'nit?) Or click on the image, or c/p address of image into another window.
Unusually large file. The thing is, hazy masks do not save well as GIF files on account of the mathematics that support the format, and GIFs they must be for this type of animation. There's a way to exploit the mathematics. It is possible to fade out something with a mask of solid bars. Double the number of bars for a double-strength mask. Triple the number of solid bars masking the image for a triple-strength mask. That would exploit the format to the best of its abilities. It goes like this: color xxxxxx from here to here. ZAP! an entire line. You can see how that would simplify the calculations required to describe the image. But it's a lot like viewing a painting through jail bars, then doubled jail bars, then tripled jail bars. It's a better effect to just spray the whole frame on a separate transparency then compress the two layers. Or use the bucket tool at 30%, then 60%, then 90%, as I did here. But that causes the program to keep track of all the spray dots from-here-to-here separately and that's a dreadfully lot of mathematics. Like this: Original 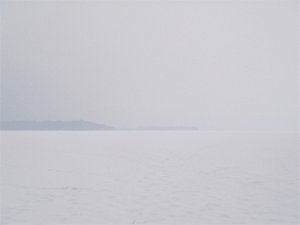 Adjusted for tone. Image → Adjustments → Shadow/Highlight. This is the darkest we can reasonably expect. This is the layer that will be masked to three different intensities with horizontal lines of a solid color. 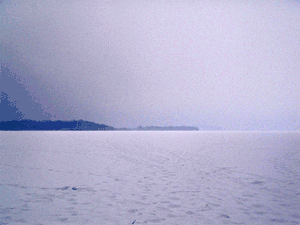 This mask was created on a separate layer by drawing a single line, duplicating the layer, moving the line over, compressing the two layers, duplicating the duplicated line into another layer, moving the two new lines adjacent to the original two lines, compressing, duplicating, moving, compressing, and so on, exponentially until the page is rapidly filled. That's the first mask. Double it for a second mask, triple it for the third mask. Compress the masks onto duplicates of the layer adjusted to be darker so now you have three intervening darknesses. 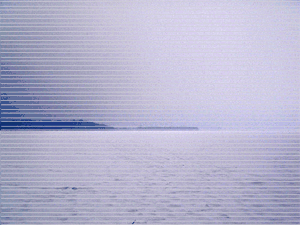 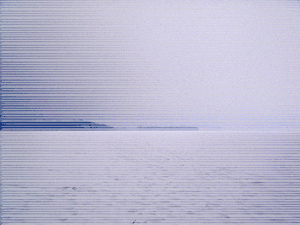  But why a mask? Why not just adjust the original to three different degrees? Because the purpose is to have an intervening layer between the background and the obscuring mask that contains an animal. We're trying to also obscure the animal. Oh bloody wow. Saying that made me realize just now it's probably easier (for me and for the program) to fade out the animal and background incrementally to complete whiteout not by covering it with an additional layer but by removing tone. Surely that would be easier to calculate. Duh! Another trick is to shrink the size of the image but display it larger than the file. That's what I'm doing here. Actual size: 400 width, displayed size: 500px. You can see how detail, thus image quality, is compromised. Incidental to all this, it is not necessary to recalculate the height of the image when posting here on Blogger, although omitting height from coding is not recommended. It's not recommended because it's best to be specific about these things when instructing a browser on exact placement of text and images. But here on Blogger all of that is already described in the style sheets. Blogger will not do anything goofy like overlap text on top of images because the style sheets are already restricting that. So I can go ahead and omit the height when I resize the image here in the code. But it's a bad habit and I do feel a pang of guilt over my coding sloth. Okay, here's the deal-io. Back to the original pic but no more intensifying tonality and masking. Just contrast reduction to complete grey-out, then back to the original image. This shifting back and forth is to slip in the bear mid way its trek across the frame to reduce the number of frames. This file ↓ down there is 483KB, larger than desirable but not that bad actually. But that file up there on top ↑ is a whopping 668 KB, which is ridiculous for a 400px X 300px image. Oddly, the larger file is 32 frames (a lot of frames for an anim like this) and the smaller file is 41 frames. Eesh. I always do that. The smaller file size tells you the individual frames are much easier to calculate. 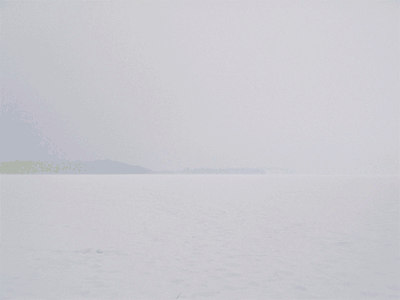 |
No comments:
Post a Comment